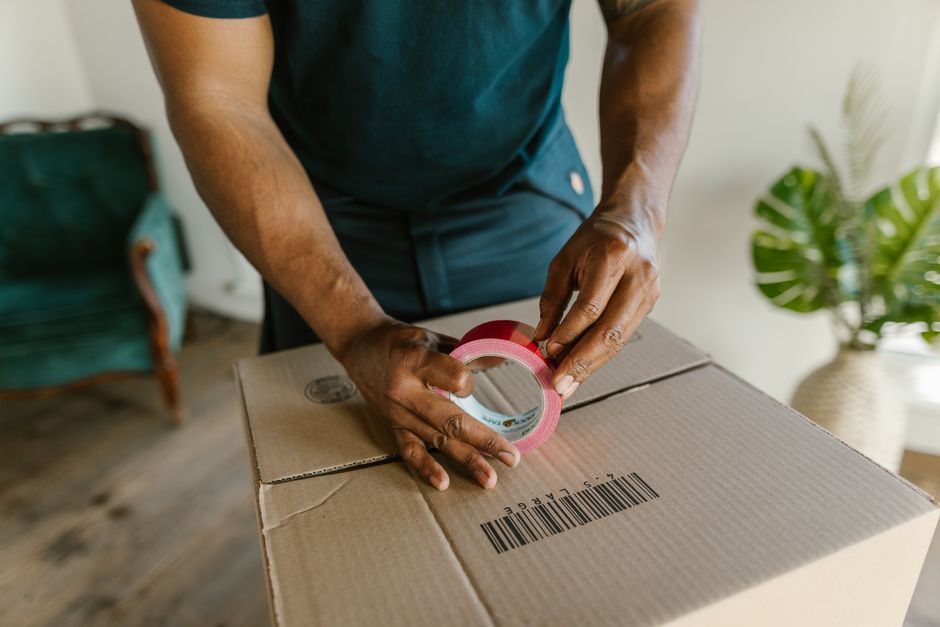
Every reseller I know has the pile. Mine lived in the corner of the garage: two shelving units and a dozen totes of items I had bought, carried home, and never listed. Good inventory, paid for, earning nothing. The pile existed because listing is slow, and the slow part was never the photos. It was the typing.
For each item: a title that says what it is, a description that answers the questions buyers ask, a condition grade, measurements, and a price I had to look up. Fifteen to twenty minutes per item on a good day. At that pace, the pile grew faster than I could clear it, because sourcing is fun and data entry is not.
Photo-first intake is the workflow that finally cleared it. The idea is simple: separate the physical work (handling the item, taking pictures) from the writing work (titles, descriptions, values), and let software do a first draft of the writing while you keep handling items. This post explains how it works, how I use it, and where it still needs a human.
What "Photo-First" Means
A traditional inventory entry starts with a form. You type the name, pick a category, enter a condition, add a description, then attach photos at the end. Photo-first reverses that. You start with the camera, capture everything about the item that a picture can capture, and commit the item with nothing but photos and a source. The text fields get filled in afterward, as a draft for you to review.
Three things make this faster than it sounds:
- You never switch context. Camera in hand, item in the other, you move through a shelf of items without stopping to type. Thirty items can be captured in the time it used to take to list five.
- The drafting happens in the background. While you photograph item 12, items 1 through 11 are already getting titles, descriptions, and estimated values.
- Review is faster than writing. Reading a drafted description and fixing two details takes a minute. Writing it from a blank box takes ten.
How the Workflow Runs in Practice
Here is a session as I actually do it, using the APMTSales intake app on an Android phone. The steps would be similar with any tool built around the same idea.
1. Pick a batch and a source
I work one source at a time: everything from last Saturday's estate sale, or everything from the storage unit lot. In the app, that source is the item's origin, and every item I capture in the session inherits it. Later, that is how I know what I paid for a lot and how it performed, which the profit-per-item post explains matters more than revenue.
2. Shoot the item, then the next item
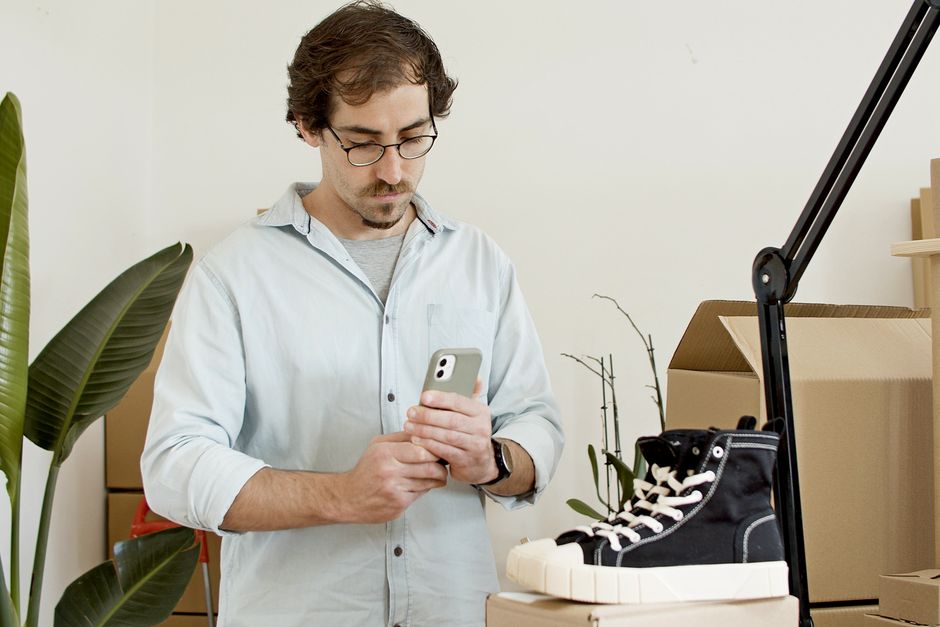
For each item I take the same set of photos I would for a listing: front, back, any labels or marks, any flaws, and one shot for scale. The phone's volume button works as the shutter, which matters more than you would think when one hand is holding a teapot. If a shot is blurry, I delete it from the strip before moving on. When the item is done, I tap to start the next one. No typing.
If the item has a barcode or a legible label, the app reads it on the phone and passes that along as a known fact, so the draft does not have to guess at the brand or model when the information is right there on the box.
3. End the batch and let it upload
When the shelf is empty, I end the session. The items upload in the background (on Wi-Fi only, if you set it that way, which I do because the photos are large). Each item lands in my inventory with a status of Pending and a placeholder name, and a queue on the server starts drafting.
4. The drafts arrive
Within a minute or so per item, the placeholder is replaced by a drafted title, a description, a condition, and an estimated value, worked out from the photos the same way the AI appraisal tool does on a single item. The app shows the progress for the batch so I can see which items are finished while I am still shooting the next shelf.
5. Review and activate
This is the part that does not get skipped. Pending items are not visible to buyers and are not pushed to any marketplace. I open the Pending Review page, read each draft against the photos, fix what needs fixing, set or adjust the price, and activate the ones that are ready. Anything I am unsure about stays pending until I have looked at the item again.
Where the Drafts Are Good, and Where They Are Not
After a few hundred items through this workflow, the pattern is consistent.
Reliable: identifying what the item is, describing visible features (materials, colors, patterns, construction), noting visible wear, suggesting a sensible title, and landing an estimated value in a believable range for common items.
Needs a human:
- Brand names read from small labels. A phone photo of a half-inch stamp on the bottom of a vase is not enough to read reliably. Treat any brand the draft names from a label as unverified until you have looked yourself. If you know the maker, enter it in the item's Brand field; if you do not, leave it blank rather than guess.
- Anything that requires touching the item. Does the zipper work. Is the glaze crazed or just reflective. Is that a repair or a mold line. Photos cannot tell, and the draft should not pretend to.
- Value on rare or specialist items. For a common kitchen item the estimate is a fine starting point. For a signed piece or a scarce collectible, do your own comps as the pricing guide describes, and treat the estimate as a sanity check.
- Your voice. Drafts are competent and a little flat. The product descriptions post covers how to edit a draft into something that sounds like your shop in two or three minutes.
None of this is a reason to skip the workflow. It is a reason to keep the review step. The time saved is in the first draft, and the first draft is the part that used to stop me from listing at all.
How Much Faster, Honestly
My numbers, which will not be yours exactly: capturing runs between 60 and 90 seconds per item including the walk to the shelf. Review and activation runs two to four minutes per item, longer for anything with a brand to verify or a price to research. Call it five minutes per item all in, against fifteen to twenty the old way, with the five minutes split into two sessions that do not have to happen on the same day.
The bigger change is psychological. Capturing is easy, so it happens. A tote that would have sat for a month gets photographed the evening it comes home. The pile stopped growing before it started shrinking.
Setting Up for Good Results
A few things that improved my drafts noticeably:
- Light. Same as any product photography. A bright, even light source and a plain background give the draft more to work with and give buyers a better listing later.
- One clear shot of any label, tag, or mark. Fill the frame with it. This is the single biggest factor in whether the brand and model come out right.
- Something for scale in one frame. A ruler or a tape measure. It helps the draft estimate dimensions and helps the buyer later.
- Delete bad shots before committing. A blurry photo in the set makes the draft worse and will have to be removed from the listing anyway.
- Keep batches to one source. It keeps your origin and cost records clean and makes the review session feel like one job instead of a dozen.
Who This Is For
If you list a handful of items a week and enjoy writing each one, you do not need this. If you are an estate sale company cataloging a house, a dealer processing a buyout, a thrifter coming home with 40 items every Saturday, or anyone who has a pile, this is the workflow that gets the pile listed.
Start with one tote. Photograph everything in it in one sitting, let the drafts come in, and do the review the next morning with coffee. If that tote is listed by lunch, you will know whether the rest of the pile is next.
The intake app is available to APMTSales accounts from the Downloads page in your admin area, and it signs in with your existing account. It is Android only at the moment.